Shaking & Movement
We can utilise many types of shaking/movement on impact to contribute to game feel. The reasons behind this have been gone over in detail in my Notes On Game Feel. Here I will give a brief overview of what we can use in this project and how it could be technically implemented.
Screen Shake:
When considering implementing screenshake you must take into account the many variable factors that contribute to how the screenshake feels.
These are:
-
Length of time the effect lasts
-
Frequency of the shake
-
Range of the shake
-
How you shake the screen
The last one is particularly important because there are practically infinite ways to do this. For example you could use fast sine/cosine waves running at different time intervals on the x and y axis. This would result in a cleaner looking shake but would not feel that impactful. Another option is moving the camera a random amount within a range every frame, though this can end up looking really rough when it snaps back after stopping. To fix this you can be constantly ‘lerping’* the camera’s x and y positions back to their intended spot.
- (This is lerp with
1 - exp(-<speed> * deltatime)as the t parameter rather than how lerp is intended to be used. This is the best approximation of “static t parameter lerp” at a fluid framerate that I know of. It is stable at framerates as low as 10fps. Credit to Sam for helping me understand the math on this one.)
Character Shake:
When a character is hit a high frequency shake really helps sell the impact. In my VFX testing I have used two methods to do this.
The first method is a simple sinewave, there are only two parameters that go into this: frequency and range. It’s easy enough to adjust these two to get the desired effect. I have used the simple sinewave for the on hit effect.
The second method is a little more involved, I’ve been calling it “bounced lerp”. I originally got it from this twitter post: https://x.com/itsmatharoo/status/1148297551931572224 (Originally in GML)
As you can probably see it’s useful for a lot more things than just shaking something on the spot. This technique is also super useful for smoothly moving things with a cool bouncy animation, it works great with scale too. I used this “bounced lerp” for the terminate effect, albeit at a very high frequency. I feel it resembles a “twitch” better than the standard sinewave.
Impact “Particles”
Impact particles come in many shapes and sizes. I put “particles” in quotes here because often they are not particles. They could be an explosion circle radius or a bolt of lightning, or anything that triggers on impact. For some effects that cannot be created with simple shapes we may need some 2D artist authored assets.
For more subtle particles we have implemented the sparks for the terminate effect. The key takeaways from this were:
-
Don’t overdo the bloom.
-
Keep it small and subtle when it should be, so the more impactful effects can shine.
-
Use hand drawn sprites with slight imperfections rather than perfect shapes.
On the heavy impact side of things, there’s the bullet-hit VFX. This was a combination of many techniques:

Key things to keep in mind for heavy impacts are:
-
Randomness is important: use random angles, speeds, starting positions, colour… everything.
-
While impact is the focus, don’t go too big, this could .
Again, hand drawn sprites only here, as you can see in the screenshot above, the impact streaks being a bit messy adds to the chaos of the effect.
Shaders
We can apply a sprite shader to a character to convey certain status effects. It is worth noting that since a shader is essentially a piece of code that completely changes how something is rendered, you cannot layer them. This is definitely something to consider given that units will end up having multiple status effects at once. A priority system would probably be a good remedy to this issue.
In testing I have created a shader to display invisibility:
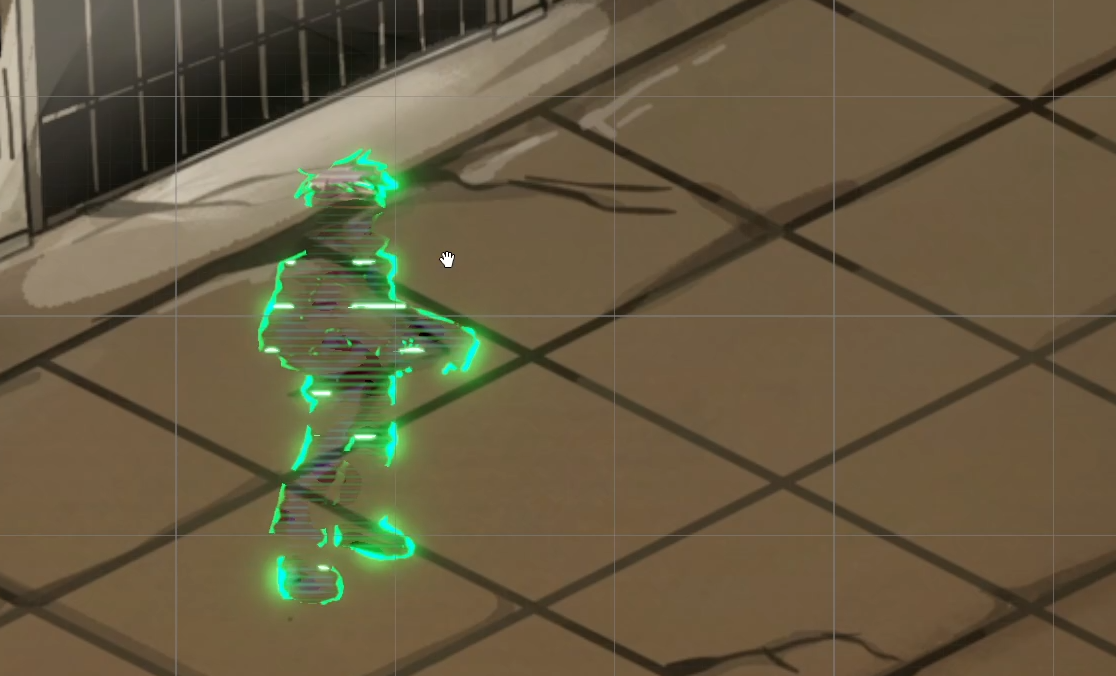
This shader was created using Unity’s built in shadergraph, as opposed to HLSL (shaderlab) programming. HLSL and shadergraph each have a unique set of advantages and disadvantages, so we will most likely be using a mix of both to create the various shaders throughout this project.
In this instance I needed 3D noise for various effects in the shader, doing this in HLSL would have required me to find a lengthy noise generation function online and paste the entire thing into the shader (or made my own but I don’t have a math degree), so I made the call to use shadergraph for this. This is a major upside to using shadergraph: otherwise super lengthy functions can be a single node. Sometimes it also lands the other way and you will find yourself needing many nodes to do something you could have just done in 1 line of code. While not passive, I also created an “on hit” shader to make the character flash white, I did this in HLSL rather than shadergraph.
Here are the artistic guidelines from feedback I received on the invisibility shader:
-
Don’t overdo the bloom. (again)
-
Passive effects aren’t meant to look super flashy.
NO GRADIENTS: In the context of the invisibility this means I couldn’t directly multiply the base texture by the noise. I had to instead use multiple cutoff nodes to create sharp cutoffs between the multiple alpha levels. This is done to more closely resemble the art style.
Environment Particles
Environment particles can be used throughout the game world to enhance the atmosphere. The key to good environment particles is subtlety. The player should never see environment particles and think “I am looking at particle effects”. It should blend in as if it is part of the art work.
Some good examples of places where environment particles can be used:
-
Embers rising from a trash can fire.
-
Rain falling and the subsequent impacts with the ground.
-
Smoke rising from a powerplant
These all add to the game’s atmosphere and are generally nice things to look at.