The Database Menu is where the player sees their achievements, stats and unlocked lore. The following are buttons in a 3x2 grid:
- Achievements
- Stats
- Items
- ASIMs
- Hostiles
- Districts
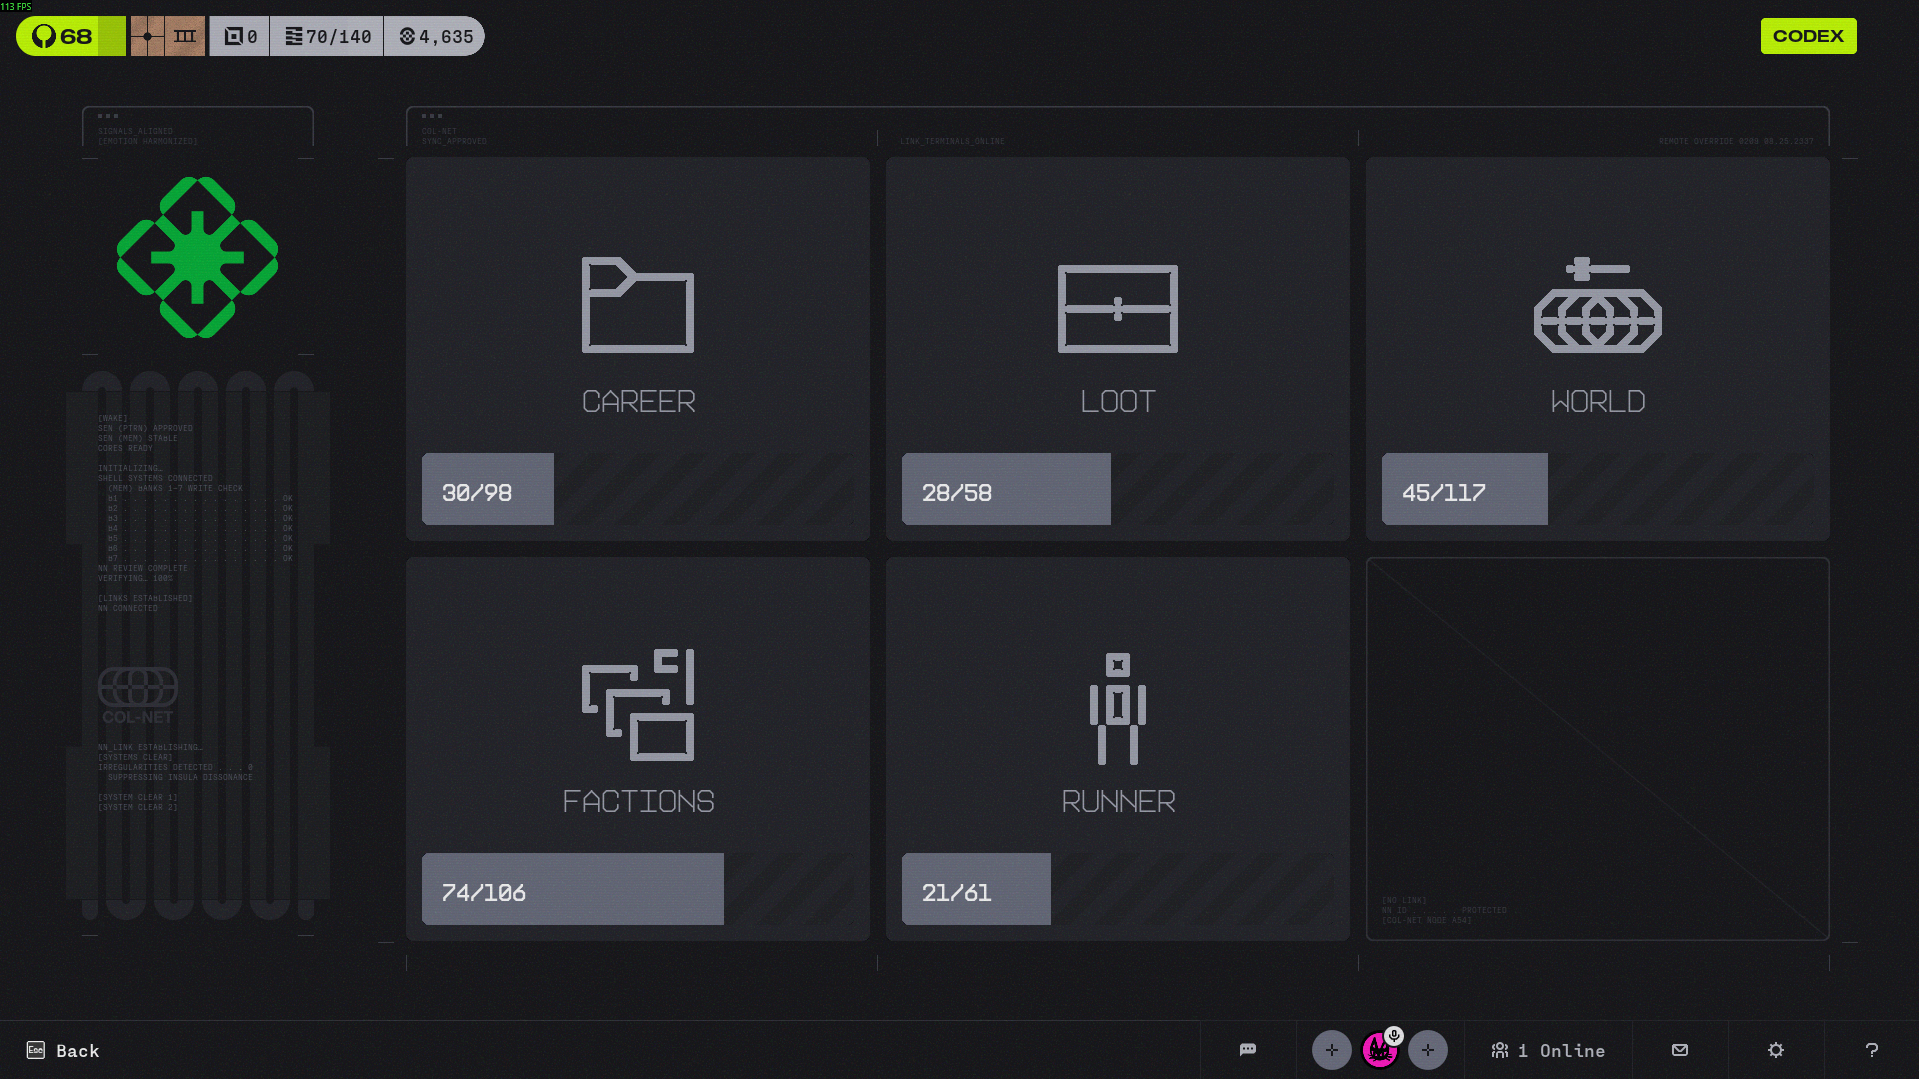
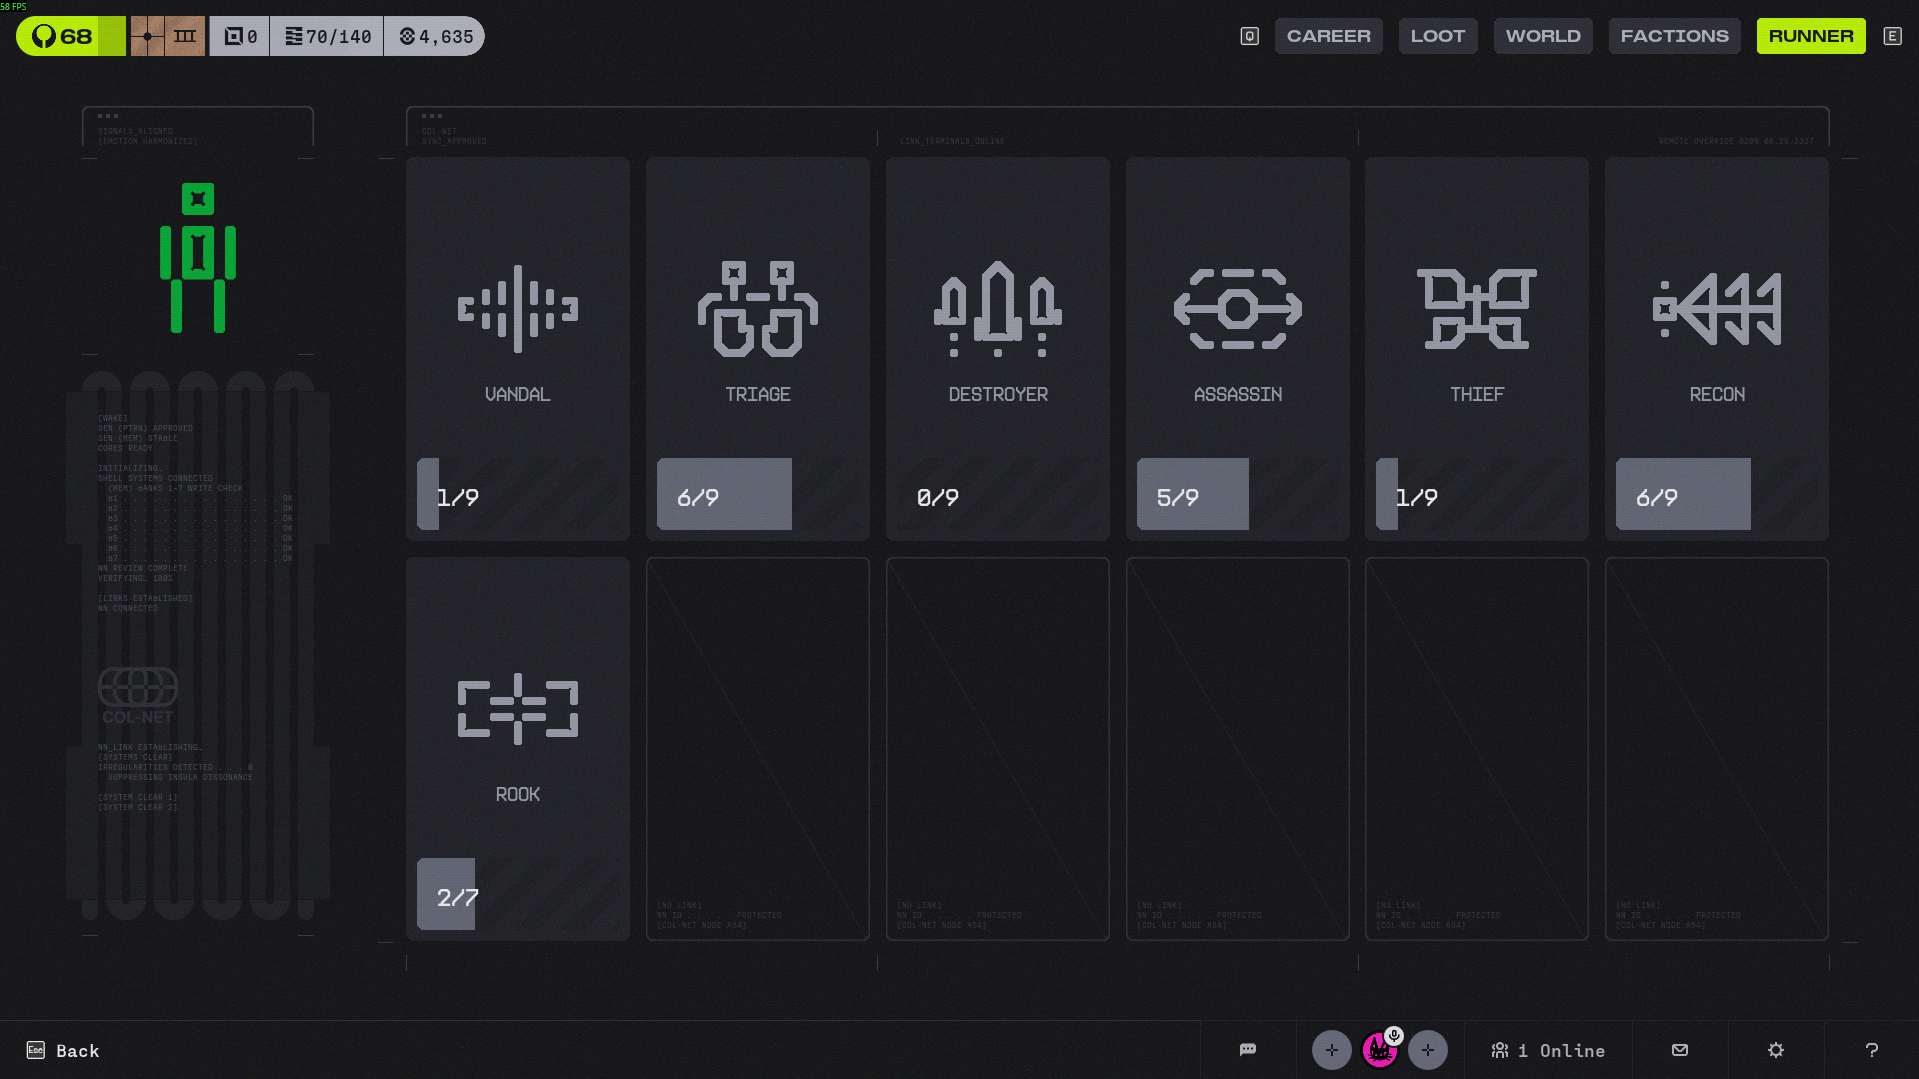
Marathon Codex UI for reference below.
Achievements
Displays a list of all achievements in the game. All achievements have an icon, a name, and a description.
- Fulfilled achievements should be displayed in full colour.
- Unfulfilled achievements should be displayed in greyscale.
- Some achievements may be marked as “encrypted”, meaning that while unachieved, their icon will be generic, the title will be “[REDACTED]” and the description will be a garbled mess of techno obfuscation.
Stats
A simple list/table of all of the stats tracked by the save file.
In addition to the main statistics saved, also calculate and show:
- Character Usage: A pie chart showing the amount of times each player character has been used in a run. Sections of the pie chart should correspond to the respective player character’s theme colour. There should be a legend showing the pie chart colour and the player character’s name. Player characters that have not been used (namely, locked player characters like Hacker, Keeper, Neko) should not be shown in the pie chart or legend. Each section of the pie chart should display the number of runs
Database Entries
The Database Menu will include database entries for every item, enemy, district and player character in the game. The menu will have grid buttons for each of these categories.
Entries in the Database menu are laid out in a grid. Before an entry is discovered, it is “encrypted”, shown as a black square with a question mark in the middle.
When an encrypted entry is selected/hovered on, a tool tip will display the discovery criteria (e.g. “Reach The Wastes”). Some encrypted entries will show “REDACTED” as the tool tip as they are meant to be secret unlocks.
When an entry is discovered, the image will change to the corresponding icon (item sprite, character portrait, enemy sprite, etc.). Once discovered, an entry can be clicked on in order to display information such as an items description, effects, and a small piece of flavour text that provides details for the entries role withing the world.
Each database entry has a corresponding lore section within it. Typically, lore sections are encrypted by default and have different unlock conditions to reveal it. Items have 1 lore section to unlock. ASIMs, Hostiles, and Districts each have 3 lore sections to unlock which should be on different tabs/pages.
Design Note
The images/sprites for each entry is critical for displaying each entry easily without having a bunch of text on screen. We already have sprites for enemies, items and player characters, but we don’t have any icons for districts. Would require consultation with art team.
Entry Types
The types of entries are as follows:
- Items
- ASIMs
- Hostiles
- Districts
Unlocking Criteria
Unlock criteria varies depending on the entry type. The following are the unlock criteria organized by entry type.
Database entry unlock requirements:
- Items
- Certain items are unlocked by default.
- Database entry unlock requirements for encrypted items vary depending on the item. Each locked item has a corresponding achievement that needs to be completed to unlock the item and its database entry.
- ASIMs
- Bandit, Idol, Construct are unlocked by default.
- Hacker - Unlock Hacker. Escape New Damascus.
- Keeper - Unlock Keeper. In a single run, kill over 200 enemies and Escape New Damascus.
- Neko - Unlock Neko. In a single run, complete 3 specific random encounters in the HQ over multiple loops.
- Hostiles
- Encounter the enemy/boss for the first time to unlock its database entry. You do not need to kill it, as long as the encounter ends.
- Districts
- Enter the district for the first time to unlock its database entry. You do not need to clear the entire district, as long as you enter first battle of the District the entry will lock.
Lore unlock requirements:
- Items
- Collect the item 5 times to unlock its lore section
- ASIMs
- Lore unlock 1: Escape New Damascus with this ASIM.
- Lore unlock 2: Escape New Damascus with this ASIM with a minimum Override Level of 4 (from difficulty modifiers).
- Lore unlock 3: Escape New Damascus with this ASIM with a minimum Override Level of 8 (from difficulty modifiers).
- Hostiles
- Enemies:
- Lore unlock 1: Kill this enemy 10 times.
- Lore unlock 2: Kill this enemy 25 times.
- Lore unlock 3: Kill this enemy 50 times.
- Bosses:
- Lore unlock 1: Kill this boss 1 time.
- Lore unlock 2: Kill this boss 5 times.
- Lore unlock 3: Kill this boss 10 times.
- Enemies:
- Districts
- Lore unlock 1: Clear this district 1 time.
- Lore unlock 2: Clear this district 5 times.
- Lore unlock 3: Clear this district 10 times.
Entry Anatomy
The following details the expected entry anatomy for each entry type
Items
- Item Name
- Item Description
- Item Effects
- Lore Section
- Amount of Times Picked
ASIMs
- Character Name
- Character Description
- Character Passives
- Character Abilities
- Lore Section 1
- Lore Section 2
- Lore Section 3
- Amount of Times Played
- Amount of Runs Won
- Highest damage dealt from one Ability use
- Most damage dealt in a single run
- Most damage taken in a single run
- Most healing done in a single run
- Lifetime deaths
Hostiles
- Enemy Name
- Enemy Description
- Enemy Passives
- Enemy Abilities
- Lore Section 1
- Lore Section 2
- Lore Section 3
- Lifetime kills against this Hostile
- Lifetime deaths from this Hostile
Districts
- District Name
- District Regions
- Lore Section 1
- Lore Section 2
- Lore Section 3
- Lifetime District clears
- Lifetime deaths in this District